Hi everyone! I'm going to walk through the build process for my Dino Megazord Power Sword. I took this on as a portfolio/practice piece, and because two of the original Power Rangers case were going to be in town for a convention. It came down to the wire, but I'm really happy with how it turned out.
Due to the irregular shape of the handle, bare PVC wasn't going to work, so it ended up being an entirely 3D printed build. It was modeled in 123D from reference photos. The design has changed a bit over the years, so I skewed a bit toward the Soul of Chogokin version. I split it into 5 parts to print on my new Voron 2 printer, which has a print volume of 350mm^3.
It's four feet long, so I decided to go with a 3/4" dowel rod as a main support and 1/4" dowel pins to help stabilize.
You can see the 3 holes meant for the dowel rods running through the blade parts. I sanded down the flat faces with 60 grit sandpaper so that they would fit better together and the adhesive had a better surface to adhere to.
Then I measured and cut the dowel pins. I'm using a PVC ratcheting cutter here, but really any type of saw would work as well.
I then measured the total length needed for the main support rod and cut it again with the PVC cutter. The cutter left a bit of a jagged edge, but that's fine since it will be entirely enclosed. I also cut it a bit short, since the marginal loss of contact area is a lot better than having to disassemble and recut the rod if it's too long.
Before the final assembly, I checked the fit of the dowel pins. It ended up being a bit too tight, so I turned a 1/4" drill bit in the slots a few times by hand.
I assembled the entire prop and checked the fit before doing any gluing.
I started with the main rod and glued it with medium gray PVC cement.
There were some small gaps in the seams due to a bit of curling on the edges of the 3D printing process, but overall it fits very well.
Here is a shot of the full assembly. The blue parts were replaced due to some last minute adjustments.
First order of business is to put some Bondo spot filler in the seams and sand it down.
It took more than one application in some places, but the putty cures in about 20 minutes, so it didn't take too long.
Here's where we get into some new territory for me. I'd been recommended using UV cure resin as a filler coat over XTC-3d. XTC-3d is a great filler, but it needs to be mixed precisely, takes a while to cure, and takes a long time to sand. In contrast, resin cures in seconds with a UV lamp, doesn't need to be mixed, and sands comparatively faster.
UV lamp for curing, make sure to wear proper protective glasses.
I poured some in a small measuring cup and applied it with a standard chip brush. Make sure to hide your brush from the UV lamp, or it will cure solid and you'll have to get a new one (like me!).
After two coats, the pieces were fully covered and glossy.
Next order of business is to sand it smooth. I started with 60 grit and moved to 150, followed by 220.
99% isopropyl alcohol is good for removing the excess oils left over from the resin. The oils can (and did) interfere in the curing process of any paints, so make sure to remove any oil that didn't get removed in the sanding process.
Here's a shot of the sanded down parts. The resin was thin enough to be partially translucent, so you can still see the underlying details. I noticed here that excess resin in corners or nooks can cure with a top shell and still a bit of uncured resin underneath. I ended up filing those down and redoing them.
Next up is a quick coat of Rustoleum filler primer to help with identifying problem areas.
A few patches of spot filler did the trick.
This was also my first time trying an HVLP airbrush to spray on filler primer. I didn't quite get the air settings right, so the coat ended up being stippled and rough.
Some 320 grit sandpaper cleared it right up. I then used 600, 1000, 1500, and 2000 grit sandpaper to get a super smooth finish. Each move up in grit tends to take less time, so it's not nearly as bad as it sounds.
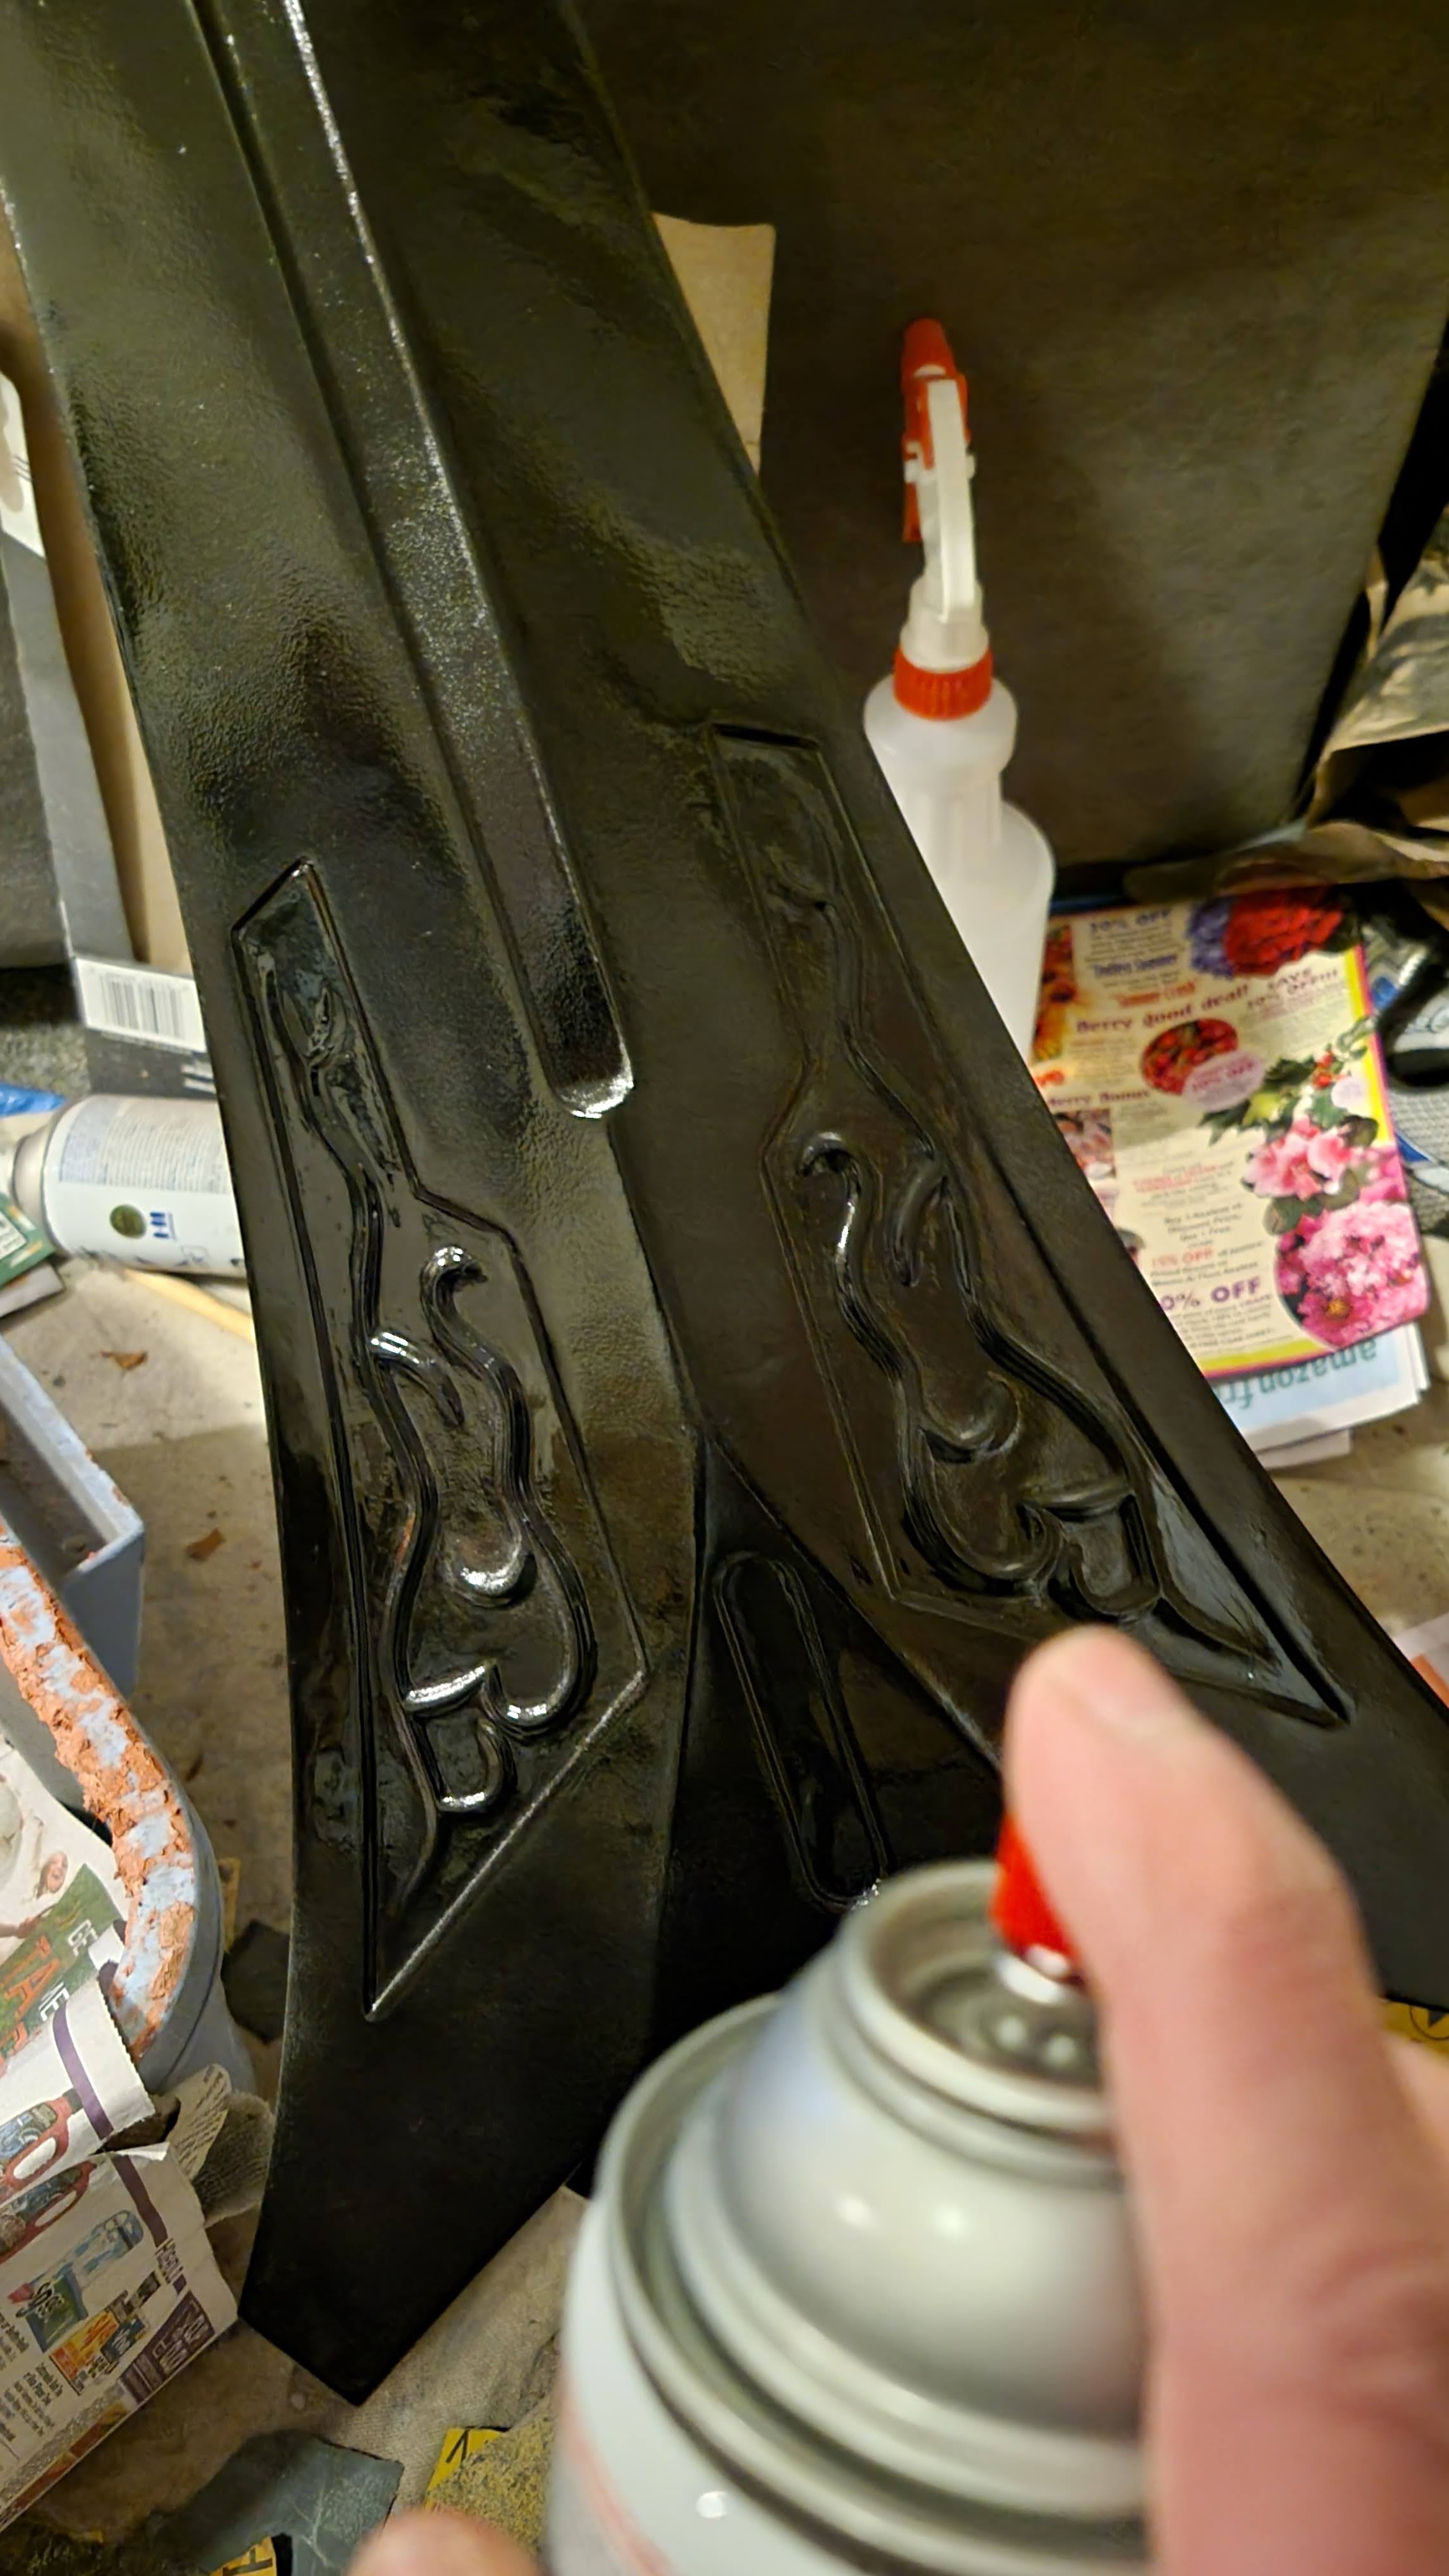
I gave it a coat of high gloss black, thinking that the metallizer paint would be helped by a black gloss undercoat like a lot of Alclad 2 paints. This would turn out to be a mistake.
Here's me using some old Testors metallizer paint. This would also turn out to be a mistake, as the finish was super inconsistent and didn't react well to the paint that was there. I pretty much had to sand all that paint down and start over with Rustoleum matte nickel and Krylon gloss gold.
Parallel to this, I gave the handle 4 coats of plasti-dip, which gives it a nice rubberized texture. It's smooth and grippy, and resists wear better than the painted sections.
And now for a few glamor shots before the convention. There were still a few spots to clean up, but I'm happy with how it turned out so far. Masking was done with Frog Tape yellow, and the final gluing was done again with medium gray PVC cement.
The day of the convention came and went, and I was so glad to meet my literal childhood heroes David Yost and Walter Jones. They were gracious enough to sign it, and now I have a fantastic wall piece.
I also made a wall mount for the sword. Its just bare 3D printed with some leftover rubber foot material from some flat pack furniture put in the grooves.
.JPG)


.JPG)
.JPG)
.JPG)


