
I checked my local convention circuit and saw that Karan Ashley would be in town. After the fun I had making the Dino Megazord Sword, I thought I'd keep it going and make the Thunder Megazord Sword next.
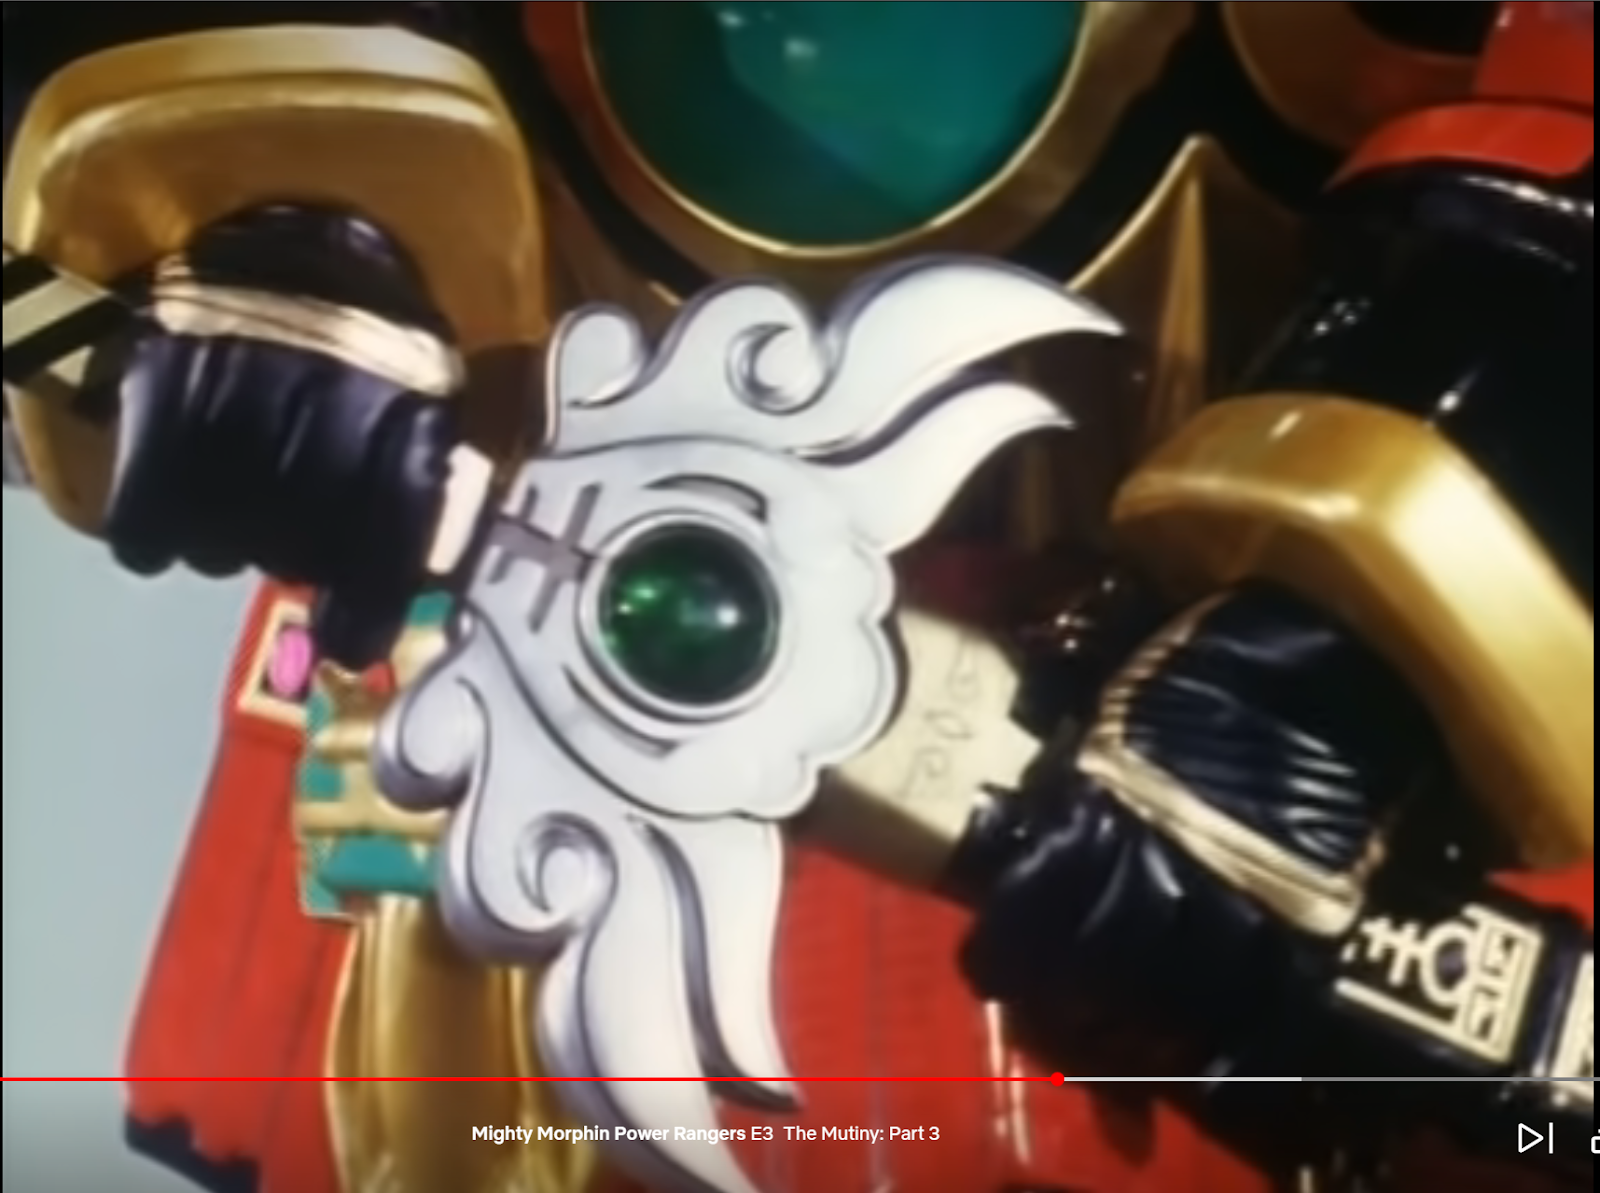
The original design is good, but it feels a little blocky. It's also hard to distinguish between the detailing of the close up 'hero' model and the practical 'stunt' model.

The officially licensed Metal Power Thunderzord has a modernized design with softer curves, but it loses the two tone color scheme and a bit of the original heft.

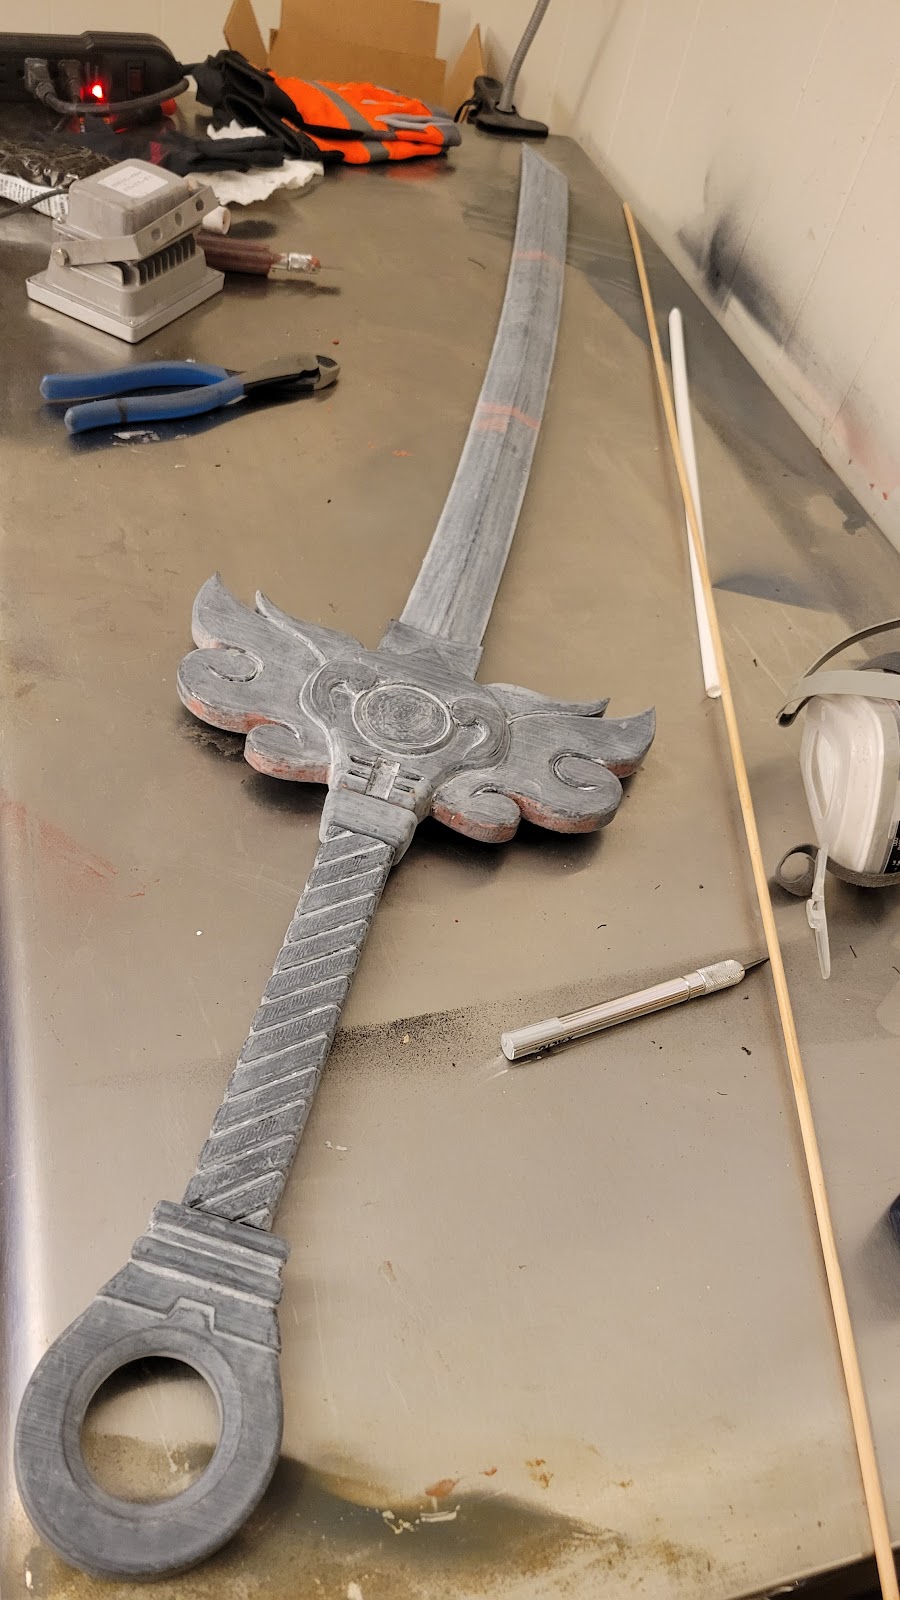
I recently purchased Rhino3d (which has a generous student discount) to replace 123d as my new modeling software, so this was as good a place to start as any. My final design incorporated elements from the old and new designs, though it leans more towards the old one.

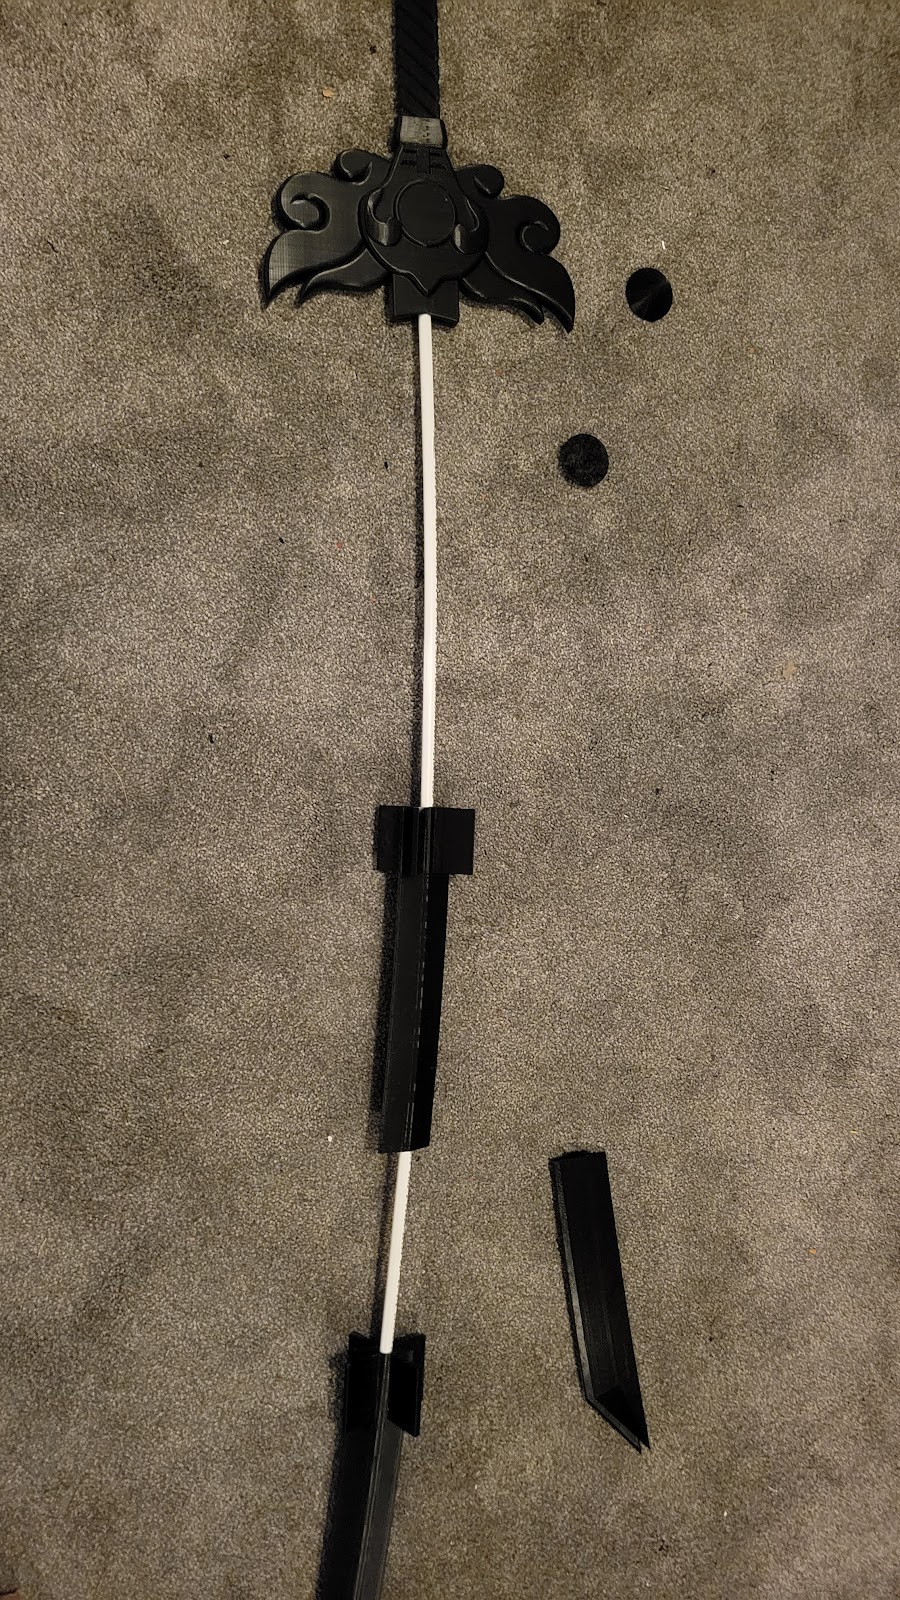
Several days of printing later, and I've got all the parts ready. Most of these parts did not make it into the final product, as I realized most of the way through that I messed up the design as well as made the support rod hole too small on the guard. The process was the same for the new parts, but I didn't document it as much because I was in a serious rush by that point.


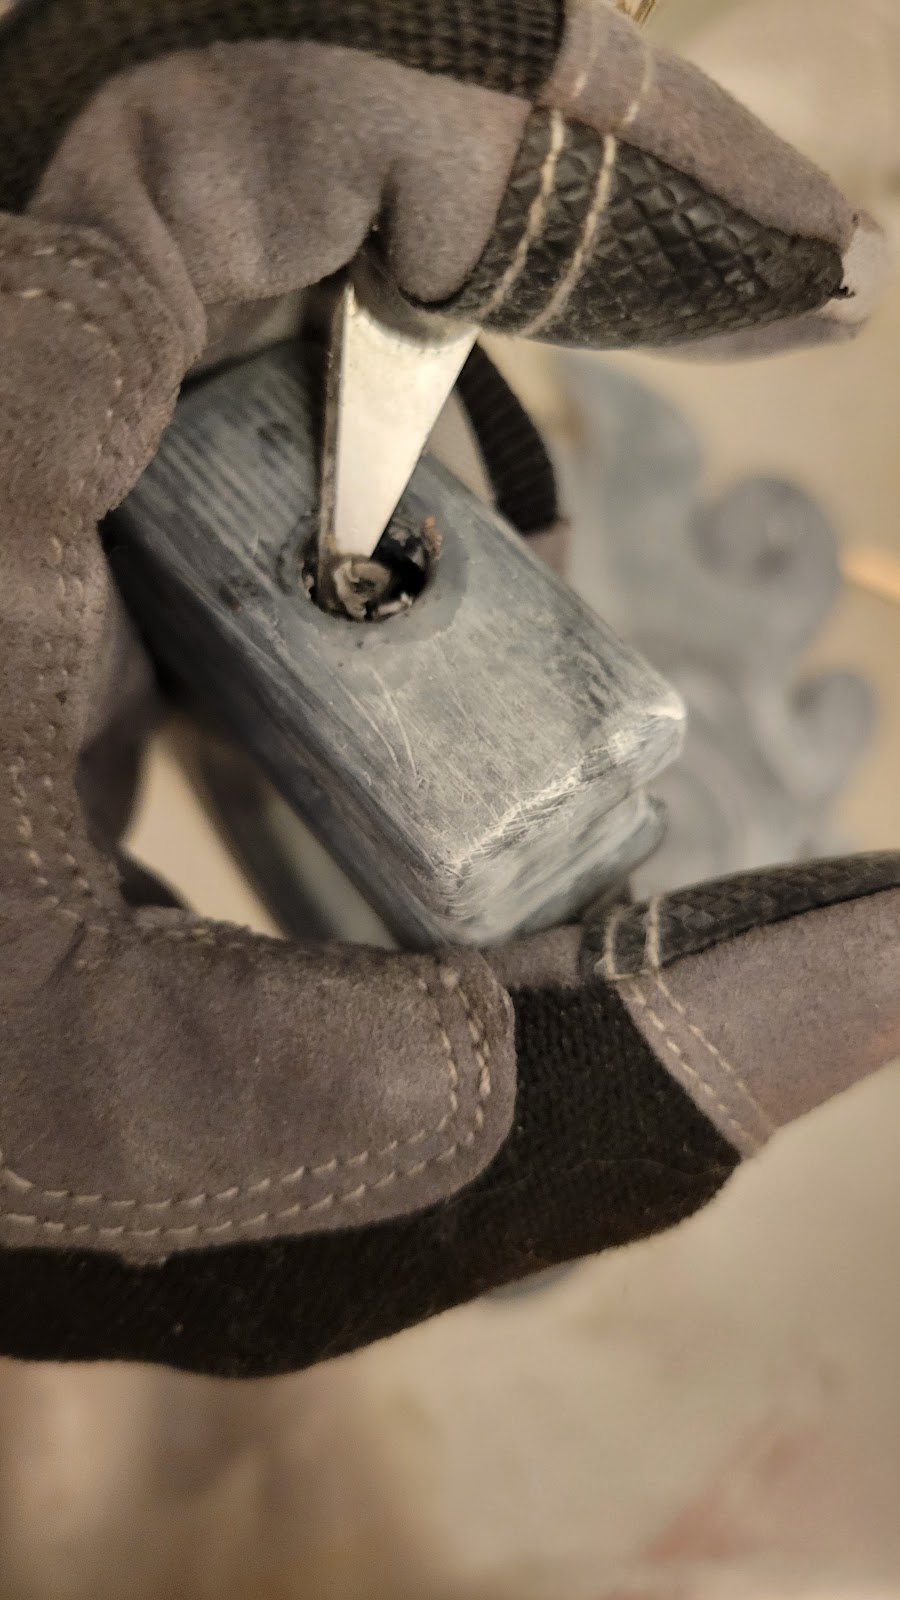
I removed the prints using an exacto knife and flat head/probe tool

The first blade was printed upright, and I needed to add fins to keep it standing while printing. This design had some issues, but the fin process it sound. Simply snap them off, cut the remaining bits, and trim flush with a file.


Some parts had some printing artifacts, which are similarly cut and filed down.

Here are the pieces laid out, measuring about 48" in length. I wasn't sure whether to use a wood dowel or PEX pipe for the support rod, since it would have to lay curved inside the sword. My first attempt was using 1/4" PEX pipe


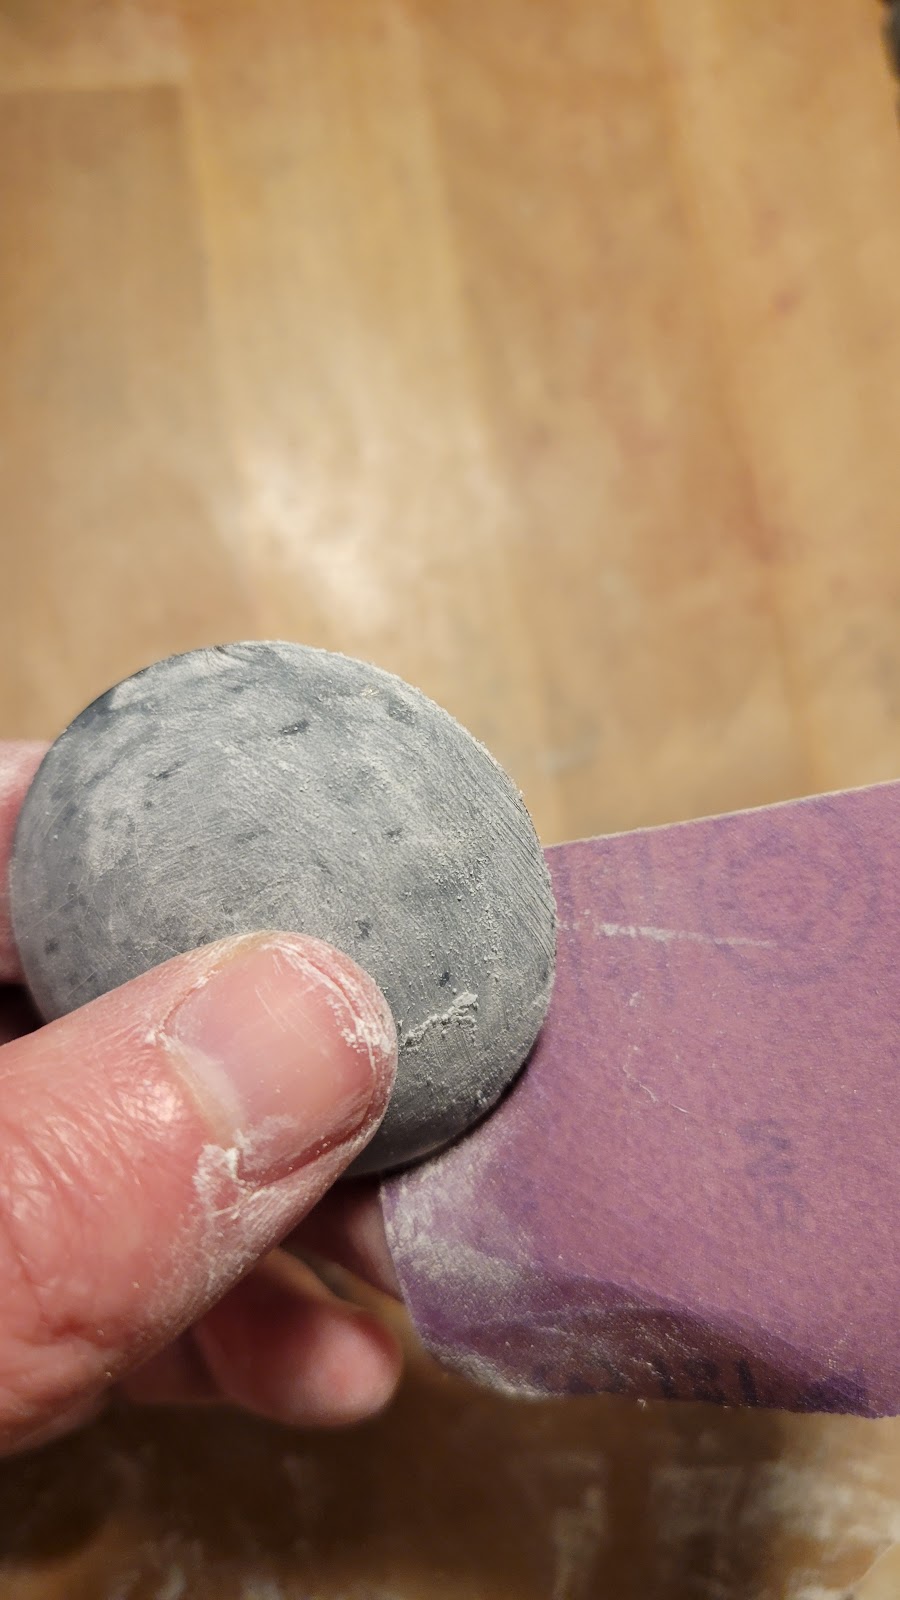
Now that all the pieces are cleaned up and sanded briefly with 60 grit to get rid of any nibs or lumps, it's time for the filler coating.

I've really taken to using UV cure resin instead of XTC-3d or wood filler since it cures in seconds and sands really well.

I used Flashforge gray resin and a 405nm UV curing light. Make sure you have the right glasses for this. If it's the correct wavelength of glasses, it should be hard to tell if the light is on or not through them.
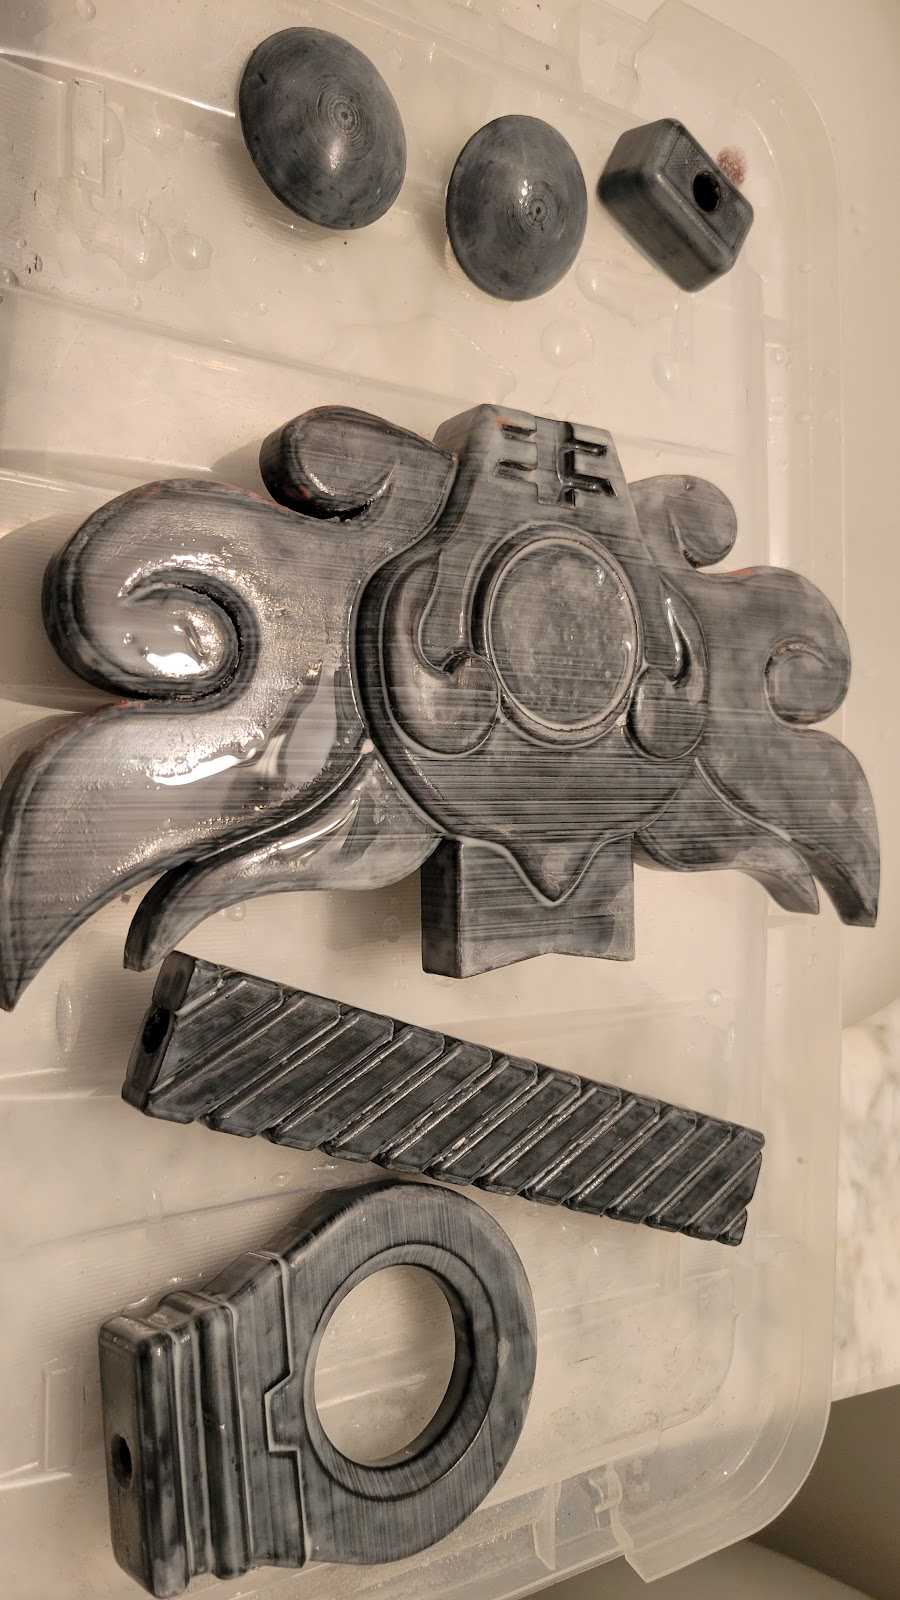
After a brush on and quick cure, parts are smooth but quite oily. I trim off any excess resin in the support hole, sand it with 60 grit, and then wipe it with some isopropyl alcohol to remove any remaining oil.


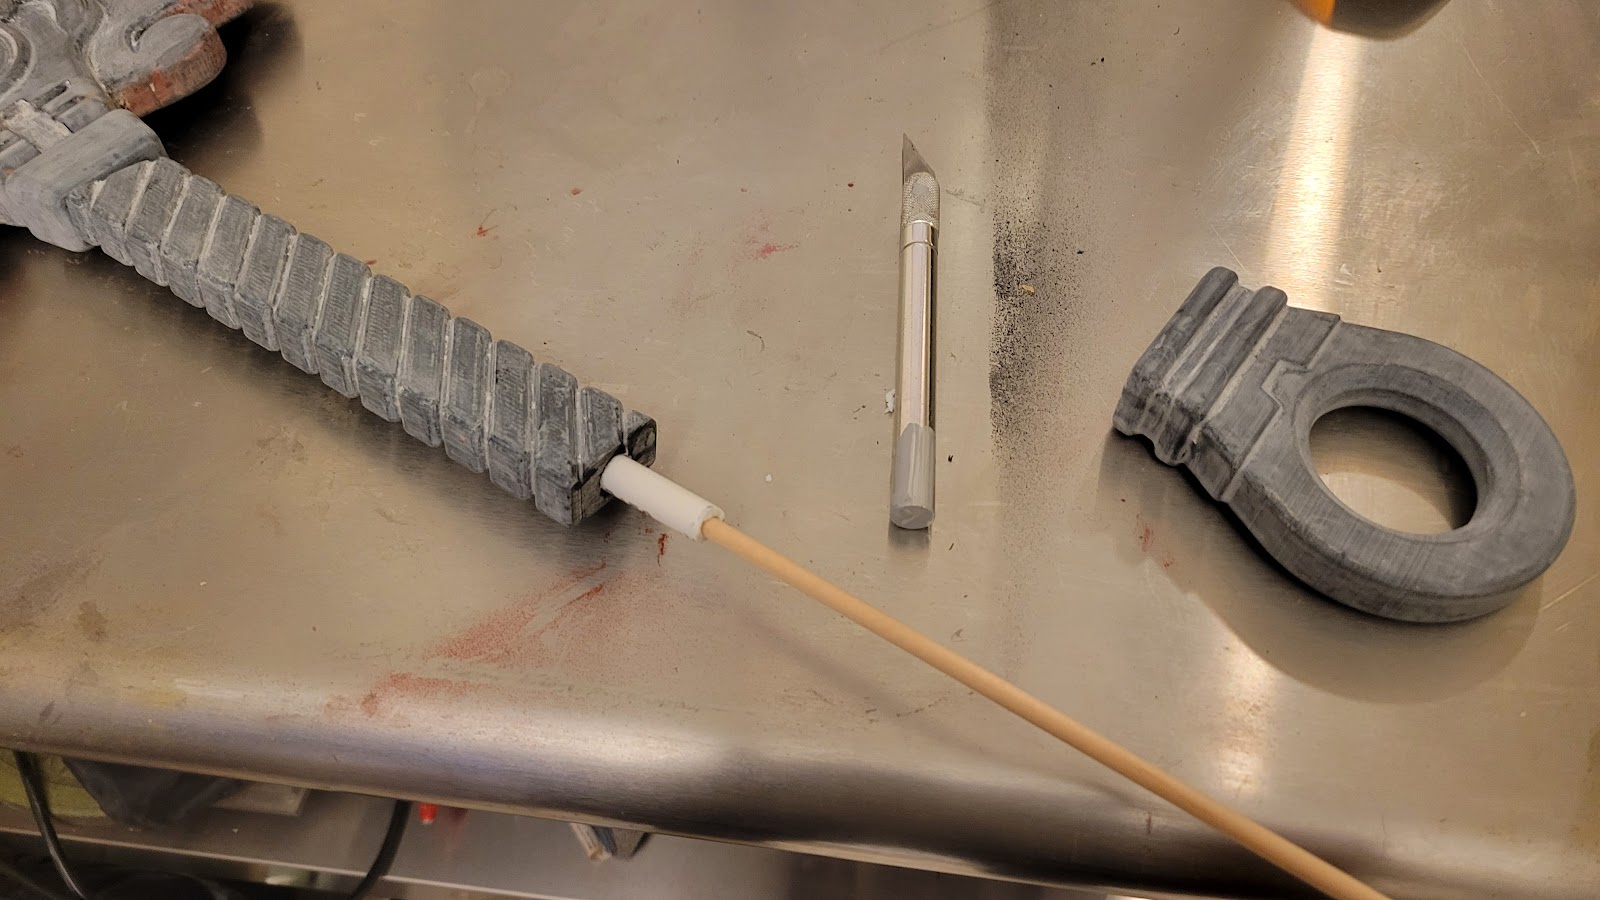
I then did a test fitting using the PEX pipe with a 1/4" dowel rod inserted into it. The result was far too floppy, and I noticed significant cracking on the edges of the blade parts.


So it was time for blade design 2. The new parts were printed horizontally and set to different lengths so that the seams would be supported from the other side. I used the PEX pipe to help hold it in place and then used Weld-on 3 to chemically bond the top two pieces to each other.


The new support rod is a 3/8" wood dowel rod. The wood was a little bendy, but not nearly enough for what I needed. I gave it a warm bath for about an hour to soften it up, and then used weight plates to shape it how I wanted it. There was a little bit of snap back, so I bent it more than it needed to be and left it overnight.


I then slid it into the top two pieces that were fused and built the rest of the blade around the dowel rod.
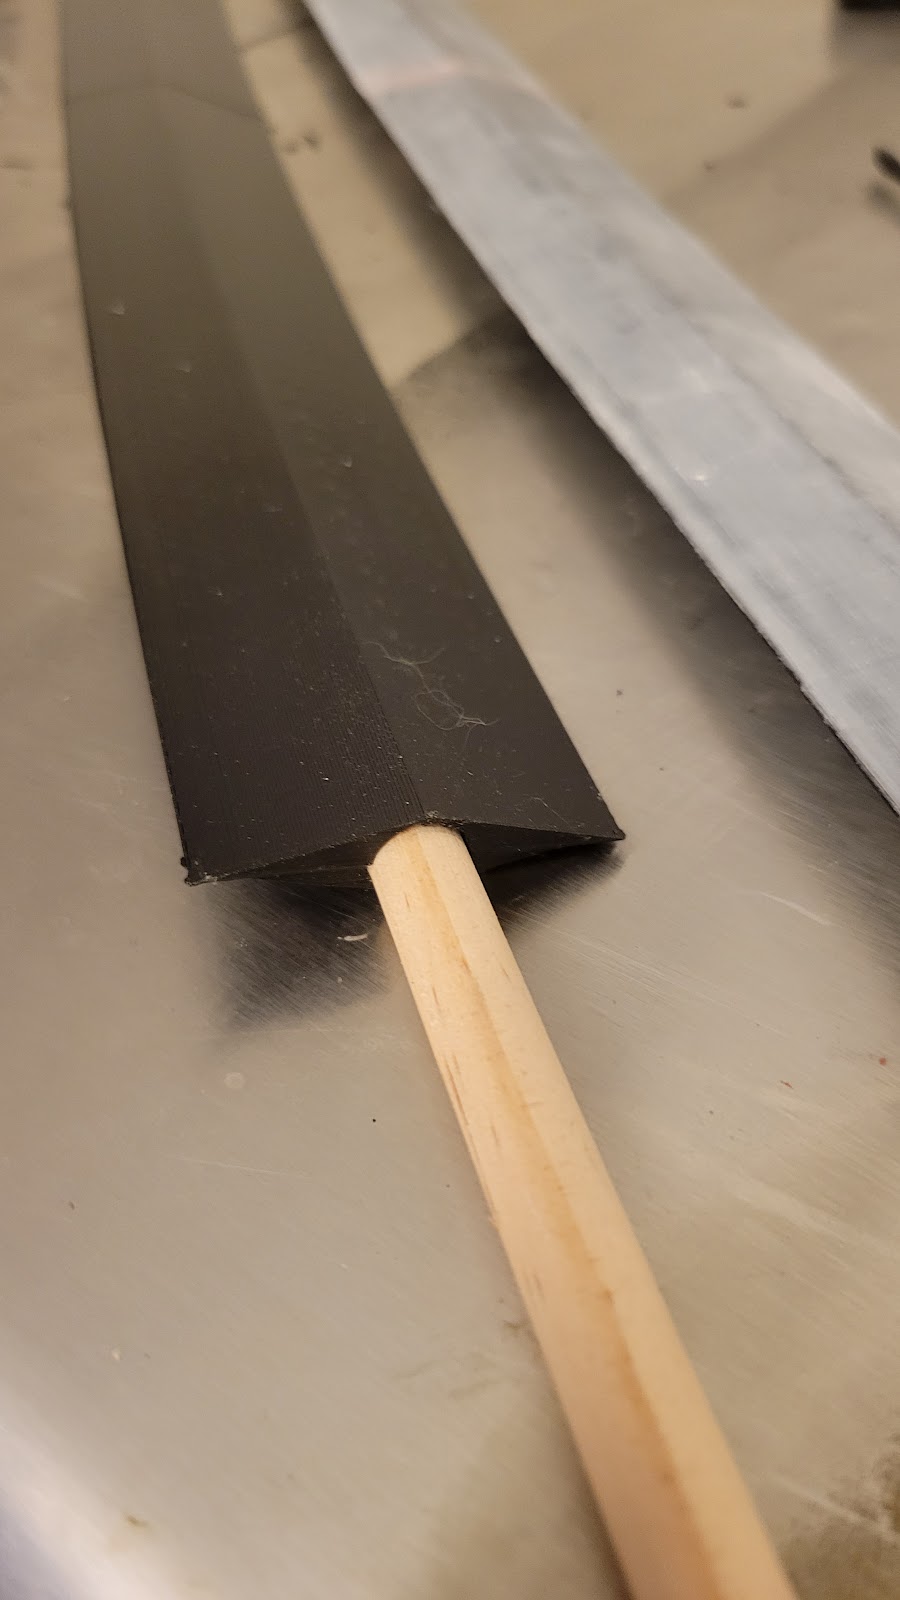

The new one is much sturdier, though the edges are more square from being printed horizontally
Now that all the parts are prepped, its just a matter of smoothing them out. I move up in sandpaper grit 60 -> 220 -> 320, patch any dents with Bondo spot filler, coat it with filler primer, and then sand 320 -> 600 -> 1000.


More spot filler to get it super smooth. This is the start of the blade guard design 2 where I split the wings and the main body apart.


There were some gaps in between the guard and blade, so more filler here.

Pins were added here as guides for attaching the wings with some E6000 glue. Make sure to properly vent as you use this stuff.
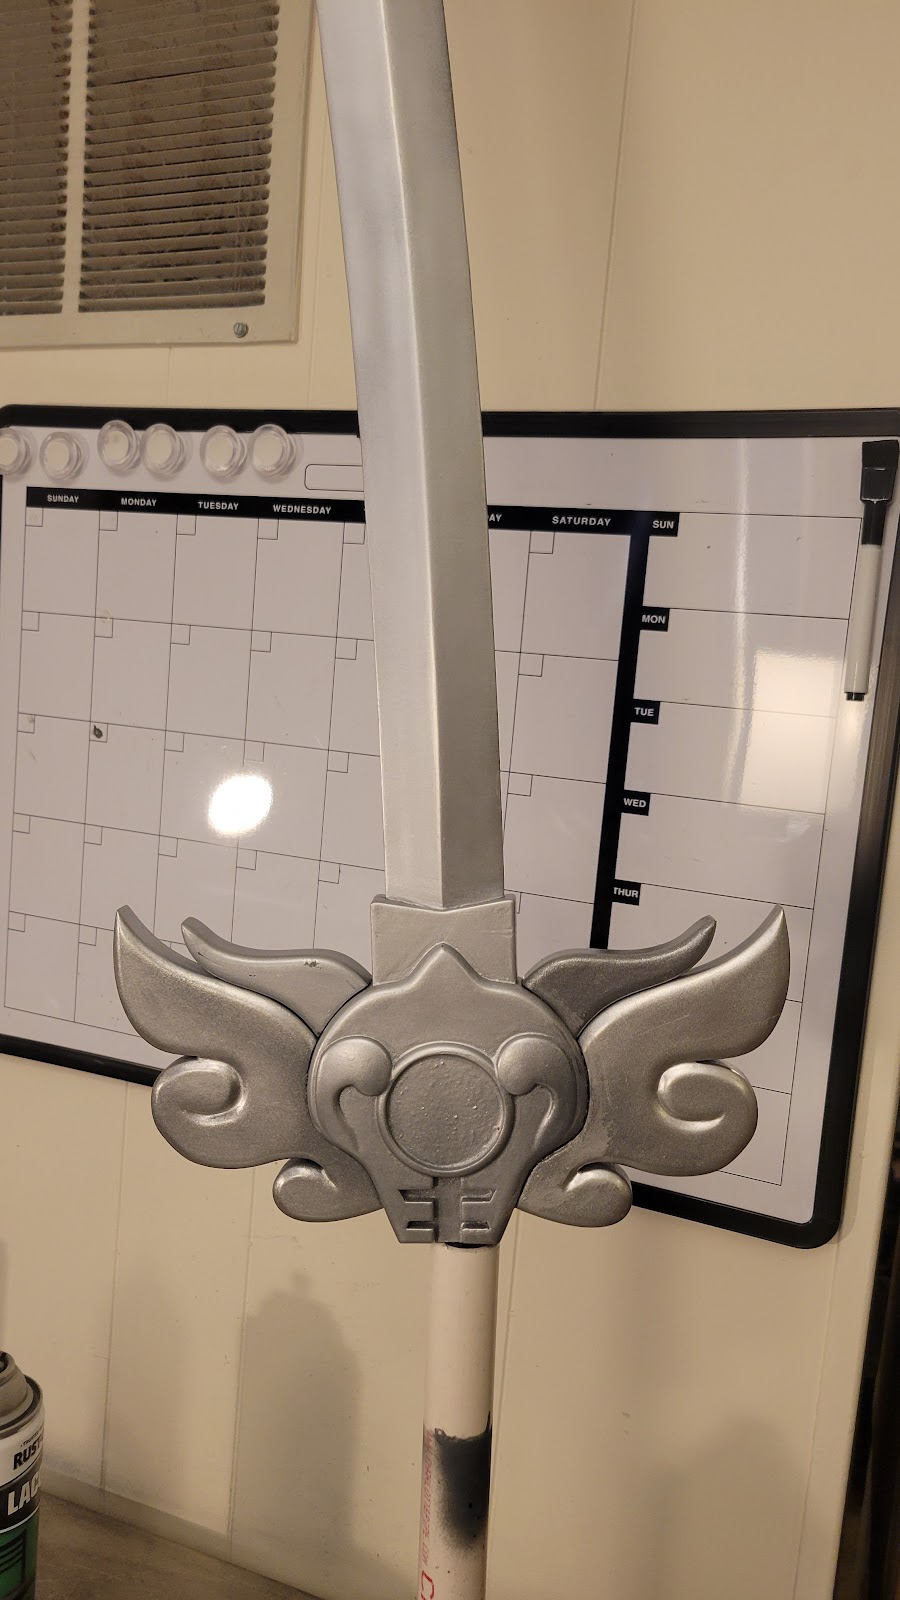
Initial assembly of the blade and guard, secured with medium gray PVC cement. Vent here as well.

The 'metal' pieces were painted in Tamiya mica silver paint. The blade was done in Rustoleum metallic matte nickel, and the trim was done it Tamiya light gunmetal. I printed masking pieces for the trim in lieu of using masking tape, as the edges needed to be fairly precise.

For the handle, started with a coating of Rustoleum gloss black lacquer. I then used yellow Frog Tape on every other line.

I did each line in two halves to better get into the grooves.


Now masked, I gave it two light coats of Rustoleum gold metallic
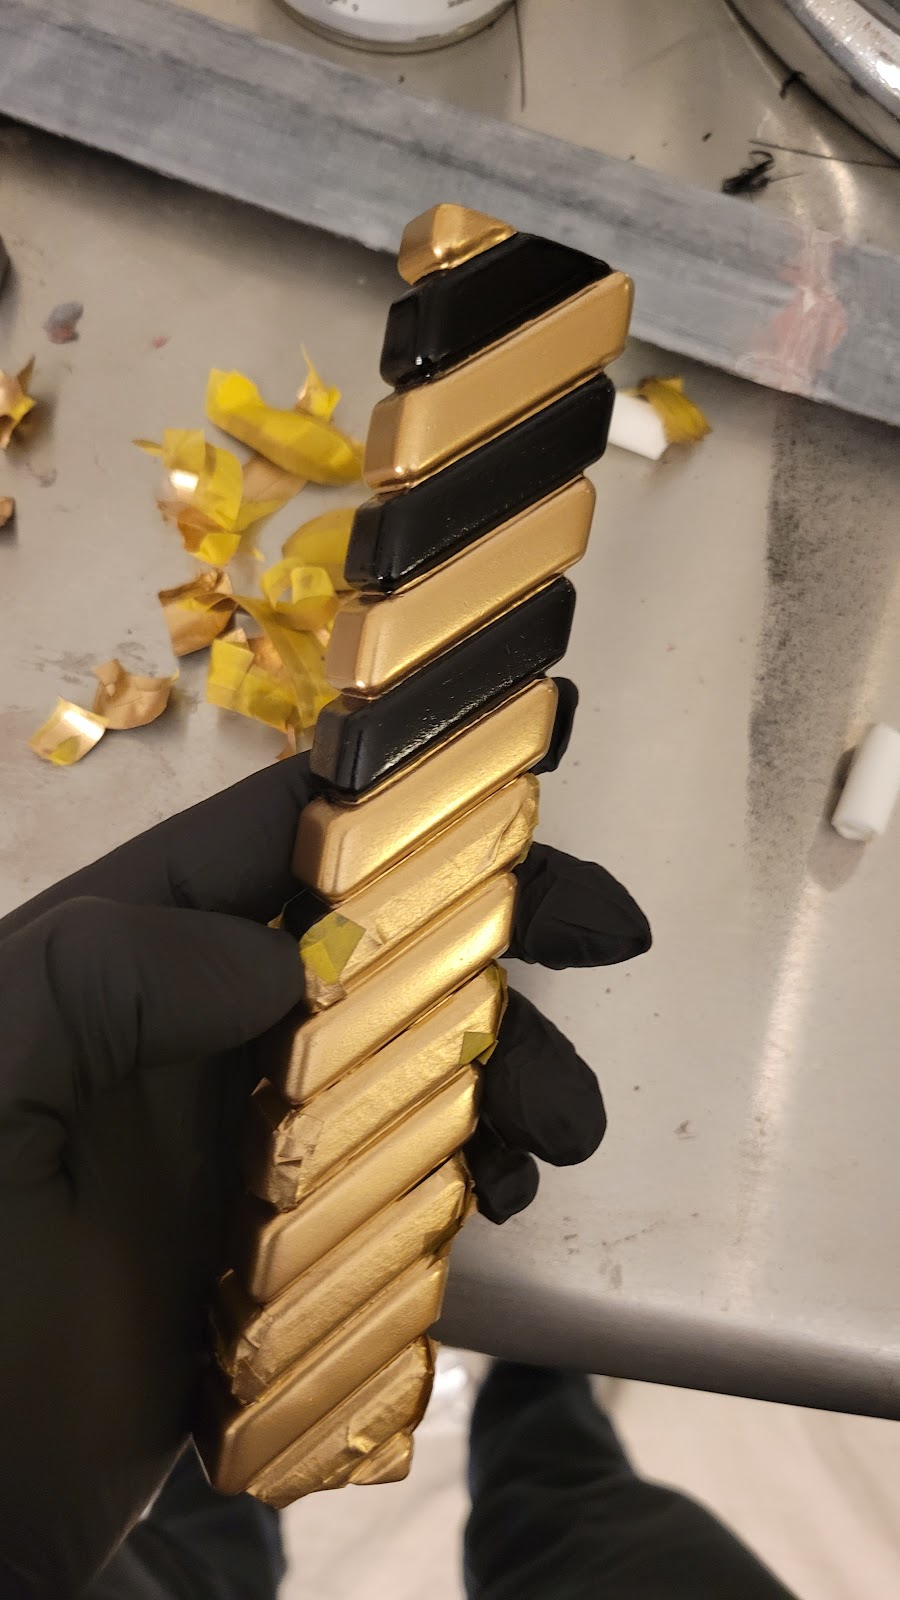
Simply peel off the masking tape and touch up any spots with a microbrush


Since I wasn't going to do a resin pour for the gems, I decided to go with a lazy 'candy coating' paint. I used some chrome paint to give it a super shiny base coat and then lightly sprayed some Tamiya green metallic on it. Transparent green would work as well, but I didn't have enough on hand.

The result is super smooth and shiny

Using more PVC cement to add the remaining pieces in the spray booth, using the dry time to airbrush on some touch ups. The dark groove was done with a microbrush and some old gunmetal paint I had spare.
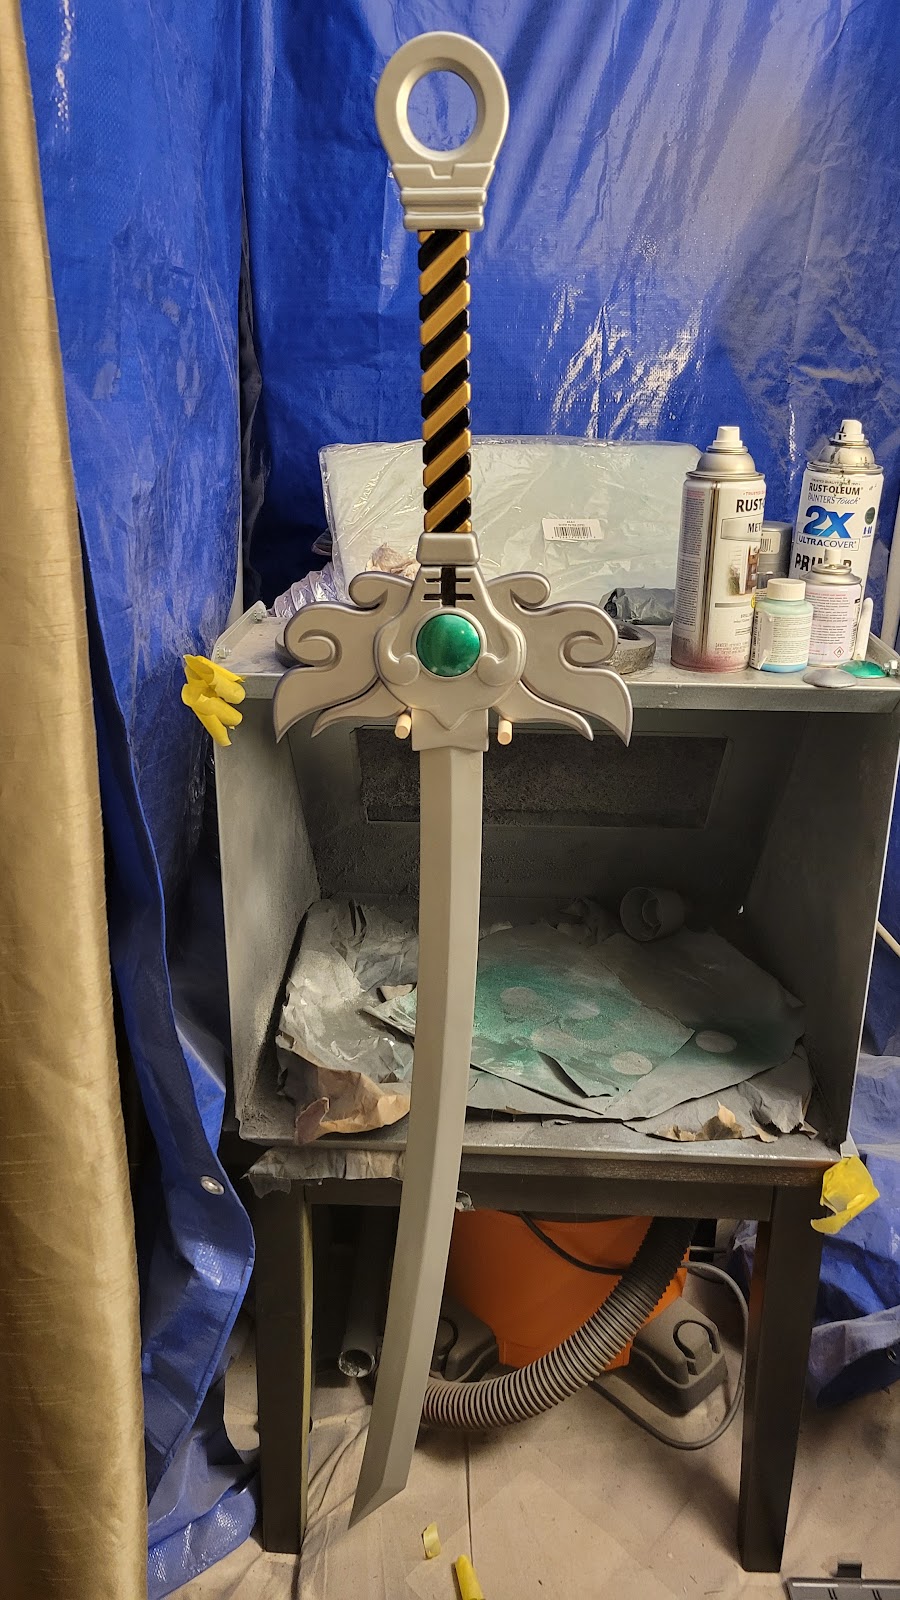
Final assembly hanging to dry

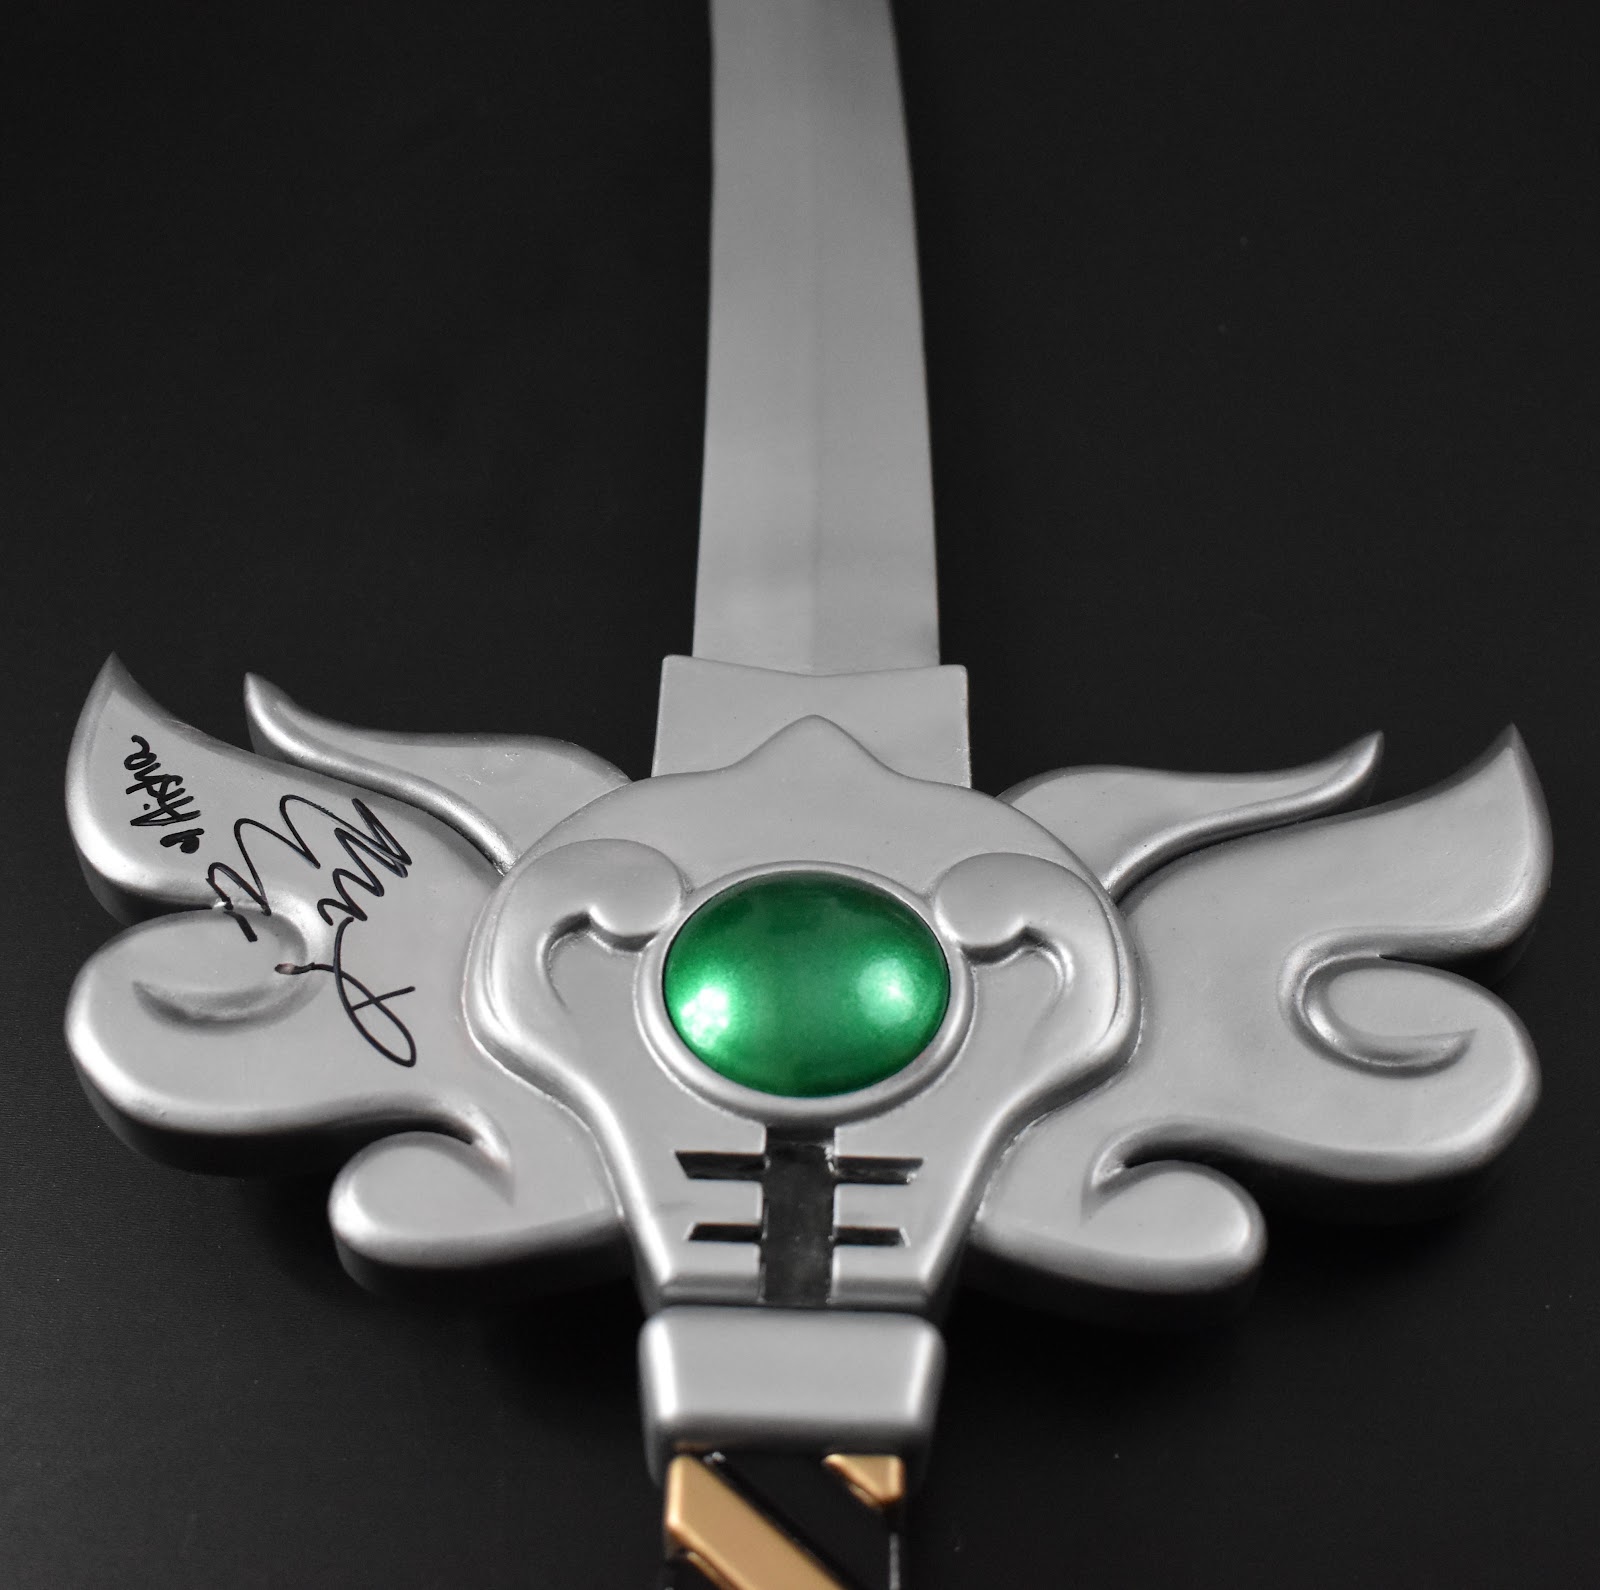
All packed up in the car ready to be signed!


The two tone trim is a bit more subtle than the original design, but its still noticeable, especially on the sides.


Really happy with how this turned out, maybe the White Tigerzord Sword or Shogun Megazord Sword will be next!
Model available at https://cults3d.com/en/3d-model/fashion/power-rangers-thunder-megazord-sword or by request